## 你可能會用到的css屬性
> css語言相對簡單,css的屬性值就這么多,沒有太多邏輯性,沒有算法,熟記各個屬性就差不多。今天分享一下css一些新特性(可能是對我來說比較新的)和css的創意,可能對大家在做頁面的時候有所幫助。
## 一、@suports?
眾所周知,不同的瀏覽器(不管是現代瀏覽器還是老版本的IE瀏覽器)對Web頁面的解析都是不一樣,為了讓Web頁面在這些瀏覽器下渲染達到基本一致的情況,給用戶更好的體驗,我們必須為他們寫不同的樣式代碼@supports”條件判斷規則,它允許我們可以根據瀏覽器對CSS特性的支持情況來定義不同的樣式,我們就可以使用@supports都是設置一個老的樣式做為備份,然后新的樣式寫在@supports中用來支持現代瀏覽器。例如“flex”彈性布局,到目前有下些版本瀏覽器不支持,但你使用這個屬性,為了讓其他的瀏覽器不至于布局混亂
語法規則
```css
@supports <條件規則>{
}
```
@supports中的“**條件規則**”可以聲明一條或者幾個由不同的邏輯運算符相結合的聲明(比如說,非(not),或(or),與(and)等)。而且還可以使用括號來確定其操作的優先級關系,例如
```css
// 如果瀏覽器支持“display:flex”屬性,那么在“section”元素上就運用“display:flex”樣式。
(display:flex)
@supports (display:flex) {
? section { display: flex }
? ...
}
```
@supports還可以根據不同的邏輯運算符相結合
- not 邏輯
? 主要作用是,在不支持新特性時,可以提供備用樣式。換過來也可以理解,如果你的瀏覽器不支持@supports條件判斷中的樣式,你可以通過@supports為瀏覽器提供一種備用樣式
? ```css
? @supports not (display: flex){
? ? #container div{float:left;}
? }
? ```
- and 邏輯
?? ? ? supports的條件判斷中也可以使用“and”邏輯聲明。用來判斷是否支持多個屬性
```css
@supports (display: table-cell) and (display: list-item) and (display:run-in){
? /*樣式*/
}
```
- Or邏輯
? ```css
? @supports (display: -webkit-flex) or (display: -moz-flex) or (display: flex) {
? ? section {
? ? ? display: -webkit-flex;
? ? ? display: -moz-flex;
? ? ? display: flex;
? ? ? …
? ? }? ? ? ? ?
? }
? ```
- js? css.supports
? 跟CSS的`@supports`標記相對應的,JavaScript里提供了window.`CSS.supports`方法。`CSS.supports`的接口規范提供兩種調用方法。第一種方法是使用兩個參數:一個是屬性名,另一個是屬性值:
? ```js
? var supportsFlex = CSS.supports("display", "flex");
? ```
## 二、float
float 屬性定義元素在哪個方向浮動。以往這個屬性總應用于圖像,使文本圍繞在圖像周圍,不過在 CSS 中,任何元素都可以浮動,float的設置和word中的浮動類似

CSS Shapes屬性 允許我們定義文本環繞的幾何形狀。這些形狀可以是圓、橢圓、簡單或復雜的多邊形,甚至圖像和漸變。Shapes 的一些實際設計應用可能是圓形頭像周圍顯示圓形環繞文本,全屏背景圖片的簡單部位上面展示文本,以及在文章中顯示首字下沉。CSS Shapes 已經獲得了現代瀏覽器的廣泛支持。
### 基本的形狀類型:
參考鏈接<https://drafts.csswg.org/css-shapes/#propdef-shape-outside>
我們可以通過將下列函數值應用于 `shape-outside` 屬性來定義 CSS 中的各種基本形狀:
- `circle()`
- `ellipse()`
- `inset()`
- `polygon()`
```css
.circle {
? float: left;
? height: 200px;
? width: 200px;
? shape-outside: circle();
}
```
```
.ellipse {
? float: left;
? shape-outside: ellipse();
? clip-path: ellipse();
? width: 150px;
? height: 300px;
? background: linear-gradient(to top right, #F17BB7, #AD84E3);
}
```
```
// 橢圓具有長軸和短軸
ellipse(75px 150px);
```
```
// 300px 的正方形,每條邊內嵌 75px。這將給我們留下 150px 周圍有 75px 空間。
.inset {
? float: left;
? shape-outside: inset(75px);
? clip-path: inset(75px);
? width: 300px;
? height: 300px;
? background: linear-gradient(#58C2ED, #1B85DC);
}
```
下面的設計就可以實現啦


shape-outside**的[CSS](https://developer.mozilla.org/en-US/docs/Web/CSS) 屬性定義了一個可以是非矩形的形狀,相鄰的內聯內容應圍繞該形狀進行包裝。 默認情況下,內聯內容包圍其邊距框; `shape-outside`提供了一種自定義此包裝的方法,可以將文本包裝在復雜對象周圍而不是簡單的框中。https://developer.mozilla.org/zh-CN/docs/Web/CSS/shape-outside
https://www.html.cn/tool/css-clip-path/
https://developer.mozilla.org/zh-CN/docs/Web/CSS/clip-path
## 三、svg? change color of svg on hover
?? ? ? 參考文章: https://css-tricks.com/change-color-of-svg-on-hover/
- inline svg
? ```css
? svg {
? ? width: 70px;
? ? height: 70px;
? }
? svg:hover {
? ? fill: red;
? }
? ```
? ```html
? <div>
? ? <svg width="24" height="24" viewBox="0 0 24 24">
? ? ? <path d="M5,20.5A3.5,3.5 0 0,1 1.5,17A3.5,3.5 0 0,1 5,13.5A3.5,3.5 0 0,1 8.5,17A3.5,3.5 0 0,1 5,20.5M5,12A5,5 0 0,0 0,17A5,5 0 0,0 5,22A5,5 0 0,0 10,17A5,5 0 0,0 5,12M14.8,10H19V8.2H15.8L13.86,4.93C13.57,4.43 13,4.1 12.4,4.1C11.93,4.1 11.5,4.29 11.2,4.6L7.5,8.29C7.19,8.6 7,9 7,9.5C7,10.13 7.33,10.66 7.85,10.97L11.2,13V18H13V11.5L10.75,9.85L13.07,7.5M19,20.5A3.5,3.5 0 0,1 15.5,17A3.5,3.5 0 0,1 19,13.5A3.5,3.5 0 0,1 22.5,17A3.5,3.5 0 0,1 19,20.5M19,12A5,5 0 0,0 14,17A5,5 0 0,0 19,22A5,5 0 0,0 24,17A5,5 0 0,0 19,12M16,4.8C17,4.8 17.8,4 17.8,3C17.8,2 17,1.2 16,1.2C15,1.2 14.2,2 14.2,3C14.2,4 15,4.8 16,4.8Z"></path>
? </svg>
? <svg width="24" height="24" viewBox="0 0 24 24">
? ? ? <path d="M11.5,22C11.64,22 11.77,22 11.9,21.96C12.55,21.82 13.09,21.38 13.34,20.78C13.44,20.54 13.5,20.27 13.5,20H9.5A2,2 0 0,0 11.5,22M18,10.5C18,7.43 15.86,4.86 13,4.18V3.5A1.5,1.5 0 0,0 11.5,2A1.5,1.5 0 0,0 10,3.5V4.18C7.13,4.86 5,7.43 5,10.5V16L3,18V19H20V18L18,16M19.97,10H21.97C21.82,6.79 20.24,3.97 17.85,2.15L16.42,3.58C18.46,5 19.82,7.35 19.97,10M6.58,3.58L5.15,2.15C2.76,3.97 1.18,6.79 1,10H3C3.18,7.35 4.54,5 6.58,3.58Z"></path>
? </svg>
? ? <svg width="24" height="24" viewBox="0 0 24 24">
? ? ? <path d="M4,11V13H16L10.5,18.5L11.92,19.92L19.84,12L11.92,4.08L10.5,5.5L16,11H4Z"></path>
? </svg>
? </div>
? ```
- ### SVG Symbol / Use
? There is such thing as [an SVG sprite](https://css-tricks.com/svg-sprites-use-better-icon-fonts/), which is a group of SVGs turned into `<symbol>` elements such that any given icon can be referenced easily with a `<use>` element.
? ```html
? ? <div>
? ? ? ? <svg>
? ? ? ? ? ? <use xlink:href="#bike" />
? ? ? ? </svg>
? ? ? ? <svg>
? ? ? ? ? ? <use xlink:href="#bell" />
? ? ? ? </svg>
? ? ? ? <svg>
? ? ? ? ? ? <use xlink:href="#arrow" />
? ? ? ? </svg>
? </div>
? ```
? ```css
? svg {
? ? ? width: 70px;
? ? ? height: 70px;
? ? }
? svg:hover {
? ? ? fill: red;
? }
? ```
- ### SVG background images
? ```css
? ? .icon-bike {
? ? ? ? ? ? ? background-image: url(...);
? ? ? ? ? }
? ? ? ? ? .icon-bike:hover,
? ? ? ? ? .icon-bike:focus {
? ? ? ? ? ? ? background-image: url(...);
? ? }
? ```
filter屬性將模糊或顏色偏移等圖形效果應用于元素。濾鏡通常用于調整圖像,背景和邊框的渲染https://codepen.io/sosuke/pen/Pjoqqp
```css
icon-bike { ?
? ? background-image: url(...);?
} ?
.icon-bike:hover, .icon-bike:focus { ?
? ? ? filter: invert(27%) sepia(51%) saturate(2878%) hue-rotate(346deg) brightness(104%) contrast(97%);
}
```
? SVG also has `object`, which is kinda neat in that it had a built-in fallback back in the day — although browser support is so good these days, I honestly have never used it. But if you're using it, you would probably have to use this `filter` technique to swap color on hover.
```css
? .icon {
? ? display: inline-block;
? ? width: 70px;
? ? height: 70px;
? ? background-size: cover;
? }
? .icon-bike:hover,
? .icon-bike:focus {
? ? filter: invert(27%) sepia(51%) saturate(2878%) hue-rotate(346deg) brightness(104%) contrast(97%);
? }
? .icon-bell:hover,
? .icon-bell:focus {
? ? filter: invert(27%) sepia(51%) saturate(2878%) hue-rotate(346deg) brightness(104%) contrast(97%);
? }
? .icon-arrow:hover,
? .icon-arrow:focus {
? ? filter: invert(27%) sepia(51%) saturate(2878%) hue-rotate(346deg) brightness(104%) contrast(97%);
? }
```
- ### Use a mask instead of a background image
? ```css
? .icon-bike {
? ? mask: url();
? }
? .icon-bell {
? ? mask: url();
? }
? .icon-arrow {
? ? mask: url('.');
? }
? .icon {
? ? display: inline-block;
? ? width: 70px;
? ? height: 70px;
? ? background: black;
? ? mask-size: cover;
? }
? .icon:hover,
? .icon:focus {
? ? background: red;
? }
? ```
- ### SVG background images as data URLs
? Using a variable for the internal fills.
? ```css
? $bike: "...url"
? $bikeHover: "...url;
? $bell: "...url";
? $bellHover: "...url";
? $arrow: "...url";
? $arrowHover: "...url;
? .icon {
? ? display: inline-block;
? ? width: 70px;
? ? height: 70px;
? }
? .icon-bike {
? ? background-image: url("data:image/svg+xml, #{$bike}");
? ? background-size: cover;
? }
? .icon-bike:hover,
? .icon-bike:focus {
? ? background-image: url("data:image/svg+xml, #{$bikeHover}");
? }
? .icon-bell {
? ? background-image: url("data:image/svg+xml, #{$bell}");
? ? background-size: cover;
? }
? .icon-bell:hover,
? .icon-bell:focus {
? ? background-image: url("data:image/svg+xml, #{$bellHover}");
? }
? .icon-arrow {
? ? background-image: url("data:image/svg+xml, #{$arrow}");
? ? background-size: cover;
? }
? .icon-arrow:hover,
? .icon-arrow:focus {
? ? background-image: url("data:image/svg+xml, #{$arrowHover}");
? }
? ```
## 四、 滾動特性
一直以來,如果僅使用CSS來控制滾動條,我們只能借用`overflow`屬性
```css
overflow: auto | scroll
overflow-x: auto | scroll;
或者 overflow-y: auto | scroll
```
除了滾動體驗之外,視覺體驗相對而言更為糟糕,不同系統的瀏覽器渲染的滾動條風格也不是一致

我們先來看一下https://css-tricks.com/archives/
實 際上CSS的還有一些特性可以讓用戶有一個更好的體驗,在Webkit內核提供了`-webkit-scrollbar`(由七個偽元素)屬性,可以輕易的幫助我們實現自定義(個性化)滾動條UI風格在介紹這七個偽元素屬性之前,先來看一下滾動條的結構:下圖是滾動的滑塊和滾動的軌道


scrollbar在線生成器。https://darrylhuffman.com/sites/Scrollbar-gen/
也就是說,我們可以像制作進度條一樣來處理滾動條UI效果。不同的是采用的CSS屬性不一樣`-webkit-scrollbar`提供了七個偽元素,通過這些偽元素,我們可以來定制滾動條外觀效果。這七個偽元素分別是:
1. `::-webkit-scrollbar` the background of the bar itself.
2. `::-webkit-scrollbar-button` the directional buttons on the scrollbar.
3. `::-webkit-scrollbar-track` the empty space “below” the progress bar. // 滾動的軌道
4. `::-webkit-scrollbar-track-piece` the top-most layer of the the progress bar not covered by the thumb. //滾動條沒有滑塊的軌道部分
5. `::-webkit-scrollbar-thumb` the draggable scrolling element resizes depending on the size of the scrollable element. // 滾動條的滾動滑塊
6. `::-webkit-scrollbar-corner` the bottom corner of the scrollable element, where two scrollbar meet. // 水平和垂直交互的部分
7. `::-webkit-resizer` the draggable resizing handle that appears above the scrollbar-corner at the bottom corner of some elements. // 類似textarea可以拖動的按鈕部分
有了上面7個屬性。如下圖的兩個自定義的滾動條就可以輕易的實現

```css
.scrollbar {
? ? ? ? ? ? background-color: #F5F5F5;
? ? ? ? ? ? float: left;
? ? ? ? ? ? height: 300px;
? ? ? ? ? ? margin-bottom: 25px;
? ? ? ? ? ? margin-left: 22px;
? ? ? ? ? ? margin-top: 40px;
? ? ? ? ? ? width: 65px;
? ? ? ? ? ? overflow-y: scroll;
? ? ? ? }
? ? ? ? .force-overflow {
? ? ? ? ? ? min-height: 450px;
? ? ? ? }
? ? ? ? .scrollbar::-webkit-scrollbar{
? ? ? ? ? ? width: 6px;
? ? ? ? ? ? background-color: #f5f5f5;
? ? ? ? }
? ? ? ? .scrollbar::-webkit-scrollbar-thumb {
? ? ? ? ? ? background-color: #000000;
? ? ? ? }
```
兼容性:

顠紅的較少了,或許大家更為安心了。如果你想做得更好,也可以用`@supports`特性來做降級處理。如果瀏覽器支持`-webkit-scrollbar`,那么采用自定義屬性,如果不支持,則采用默認的滾動條風格
- 1. 視覺滾動(https://dumengjie.github.io/2017/07/24/%E8%AF%91-%E9%AB%98%E6%80%A7%E8%83%BD%E8%A7%86%E5%B7%AE%E6%BB%9A%E5%8A%A8/) *
? ? 保證視差滾動與頁面滾動位置同步


參考jquery.scrollTo
```js
window.scrollBy({ "behavior": "smooth", "left": left, "top": top }); window.scrollTo({ "behavior": "smooth", "left": left, "top": top });
```
CSSOM View Module](https://dev.w3.org/csswg/cssom-view/)提供了一個新屬性`scroll-behavior`。直接使用這個屬性就可以輕易的幫助我們實現絲滑般的滾動效果。
> CSS屬性 `scroll-behavior` 為一個滾動框指定滾動行為,其他任何的滾動,例如那些由于用戶行為而產生的滾動,不受這個屬性的影響。在根元素中指定這個屬性時,它反而適用于視窗。
`scroll-behavior`有兩個關鍵詞值:
1. auto:滾動框立即滾動
2. smooth:滾動框通過一個用戶代理定義的時間段使用定義的時間函數來實現平穩的滾動,用戶代理平臺應遵循約定
```
html { scroll-behavior:smooth; }
```
兼容性:

https://github.com/iamdustan/smoothscroll
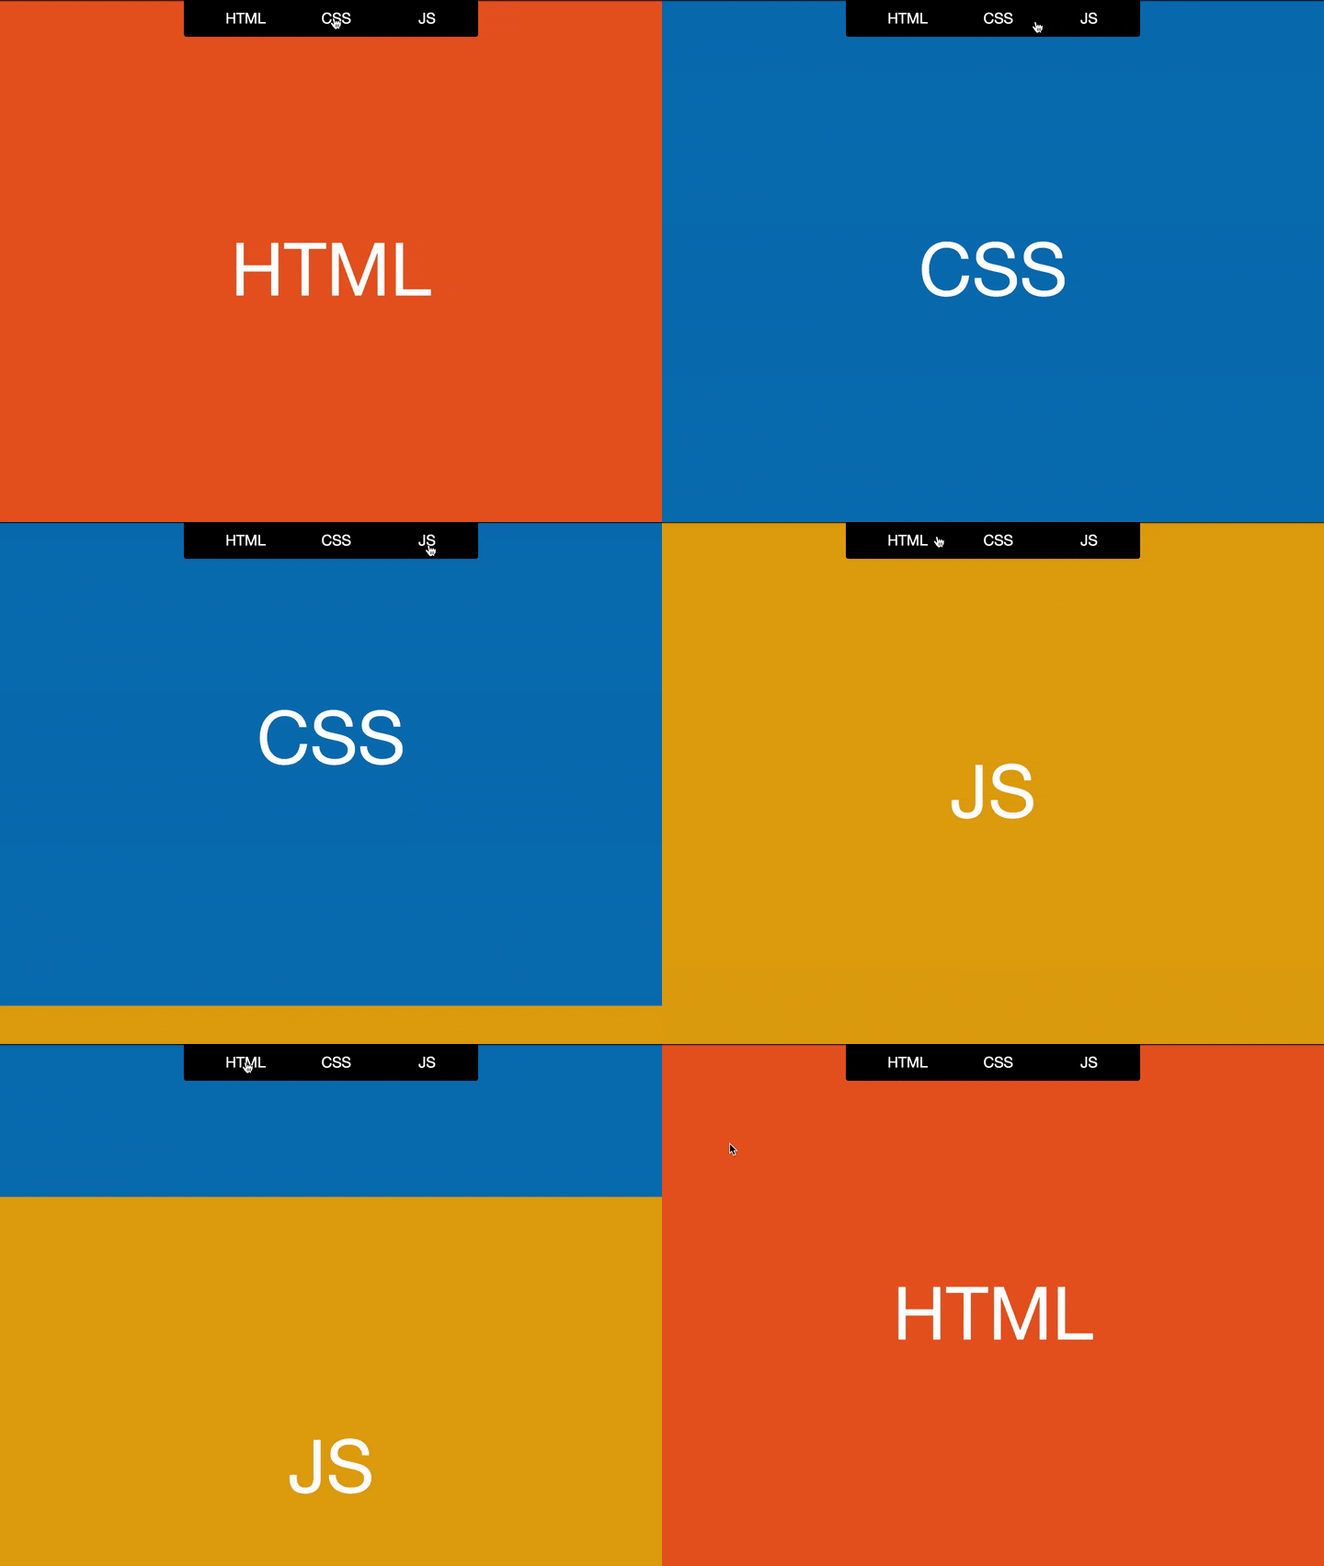
- 1. 幻燈片效果

?? ? ? ? ? ? ? ? https://www.w3cplus.com/css3/introducing-css-scroll-snap-points.html
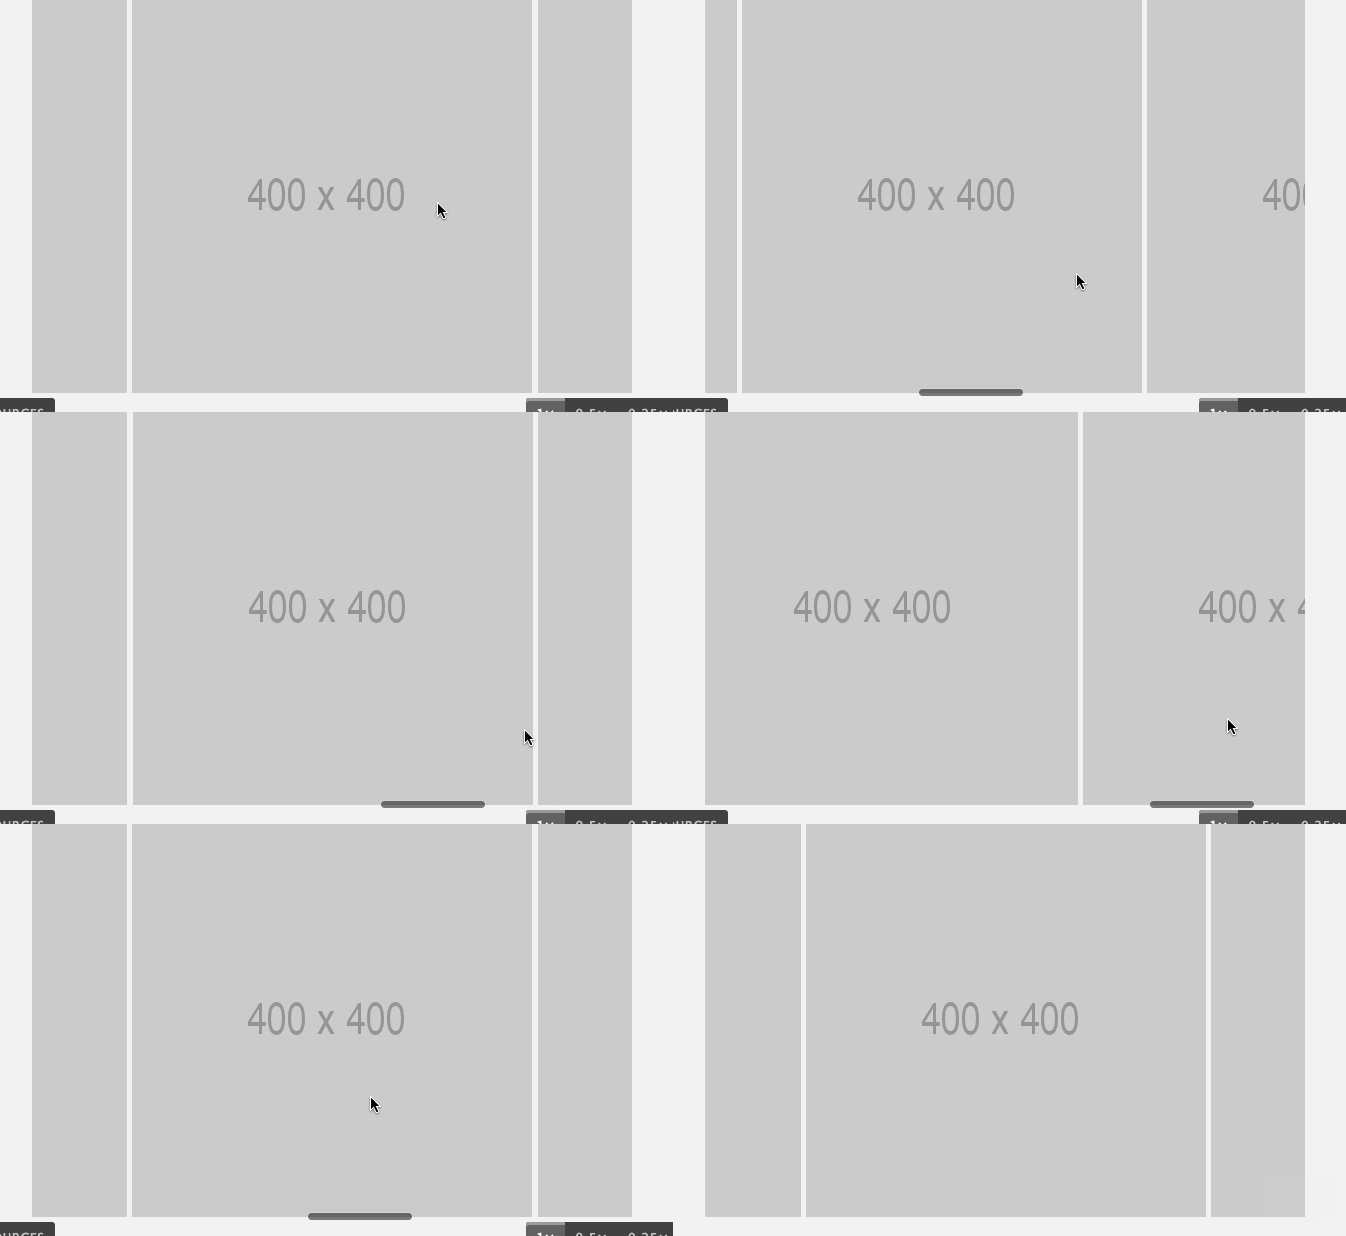
對于這樣的效果,被稱為**Scroll Snap**效果,實現類似的效果,有許多[JavaScript庫](https://projects.lukehaas.me/scrollify/#home)可供你[選擇](https://benoit.pointet.info/stuff/jquery-scrollsnap-plugin/)。使用[CSS Scroll Snap Points](https://www.w3.org/TR/css-snappoints-1/)來實現這個效果
css scroll snap points的實現原理
> 通過在`x`以及`y`軸上定義“snap points”來控制滾動容器的滾動行為。當用戶在水平或者垂直方向滾動時,利用捕捉點,滾動容器會捕捉到內容區域的某一點
**scroll-snap-type**:定義在滾動容器中的一個snap點如何被嚴格的執行
**scroll-snap-type-x**:定義在滾動容器中水平軸上snap點如何被嚴格的執行
**scroll-snap-type-y**:定義在滾動容器中垂直軸上snap點如何被嚴格的執行
**scroll-snap-coordinate**:結合元素的最近的祖先元素滾動容器的`scroll-snap-destination` 定義的軸,定義了元素中`x`和`y`坐標偏移的位置。如果元素已經變型,snap坐標也以相同的方式進行變型,為了使元素的snap點向元素一樣被顯示。
**scroll-snap-destination**:定義滾動容器的可視化viewport 中元素snap點的`x`和`y`坐標位置
**scroll-snap-points-x**:定義滾動容器中內容的snap點的水平位置
**scroll-snap-points-y**:定義滾動容器中內容的snap點的垂直位置
**scroll-snap-align**:元素相對于其父元素滾動容器的對齊方式。它具有兩個值,x 和 y。如果你只使用其中的一個,另外一個值默認相同
**scroll-snap-padding**:與視覺窗口的滾動容器有關。工作原理也相近與正常的內邊距,值設置一致。此屬性具有動畫效果,所以如果你想要對齊snap點進行滾動,這將是一個很好的而選擇。
```css
.scroller {
? ? scroll-snap-type: mandatory; /* older spec implementation */
? ? scroll-snap-destination: 0% 100%;
? ? scroll-snap-points-x: repeat(100%);
}
```
1. 滾動指示器
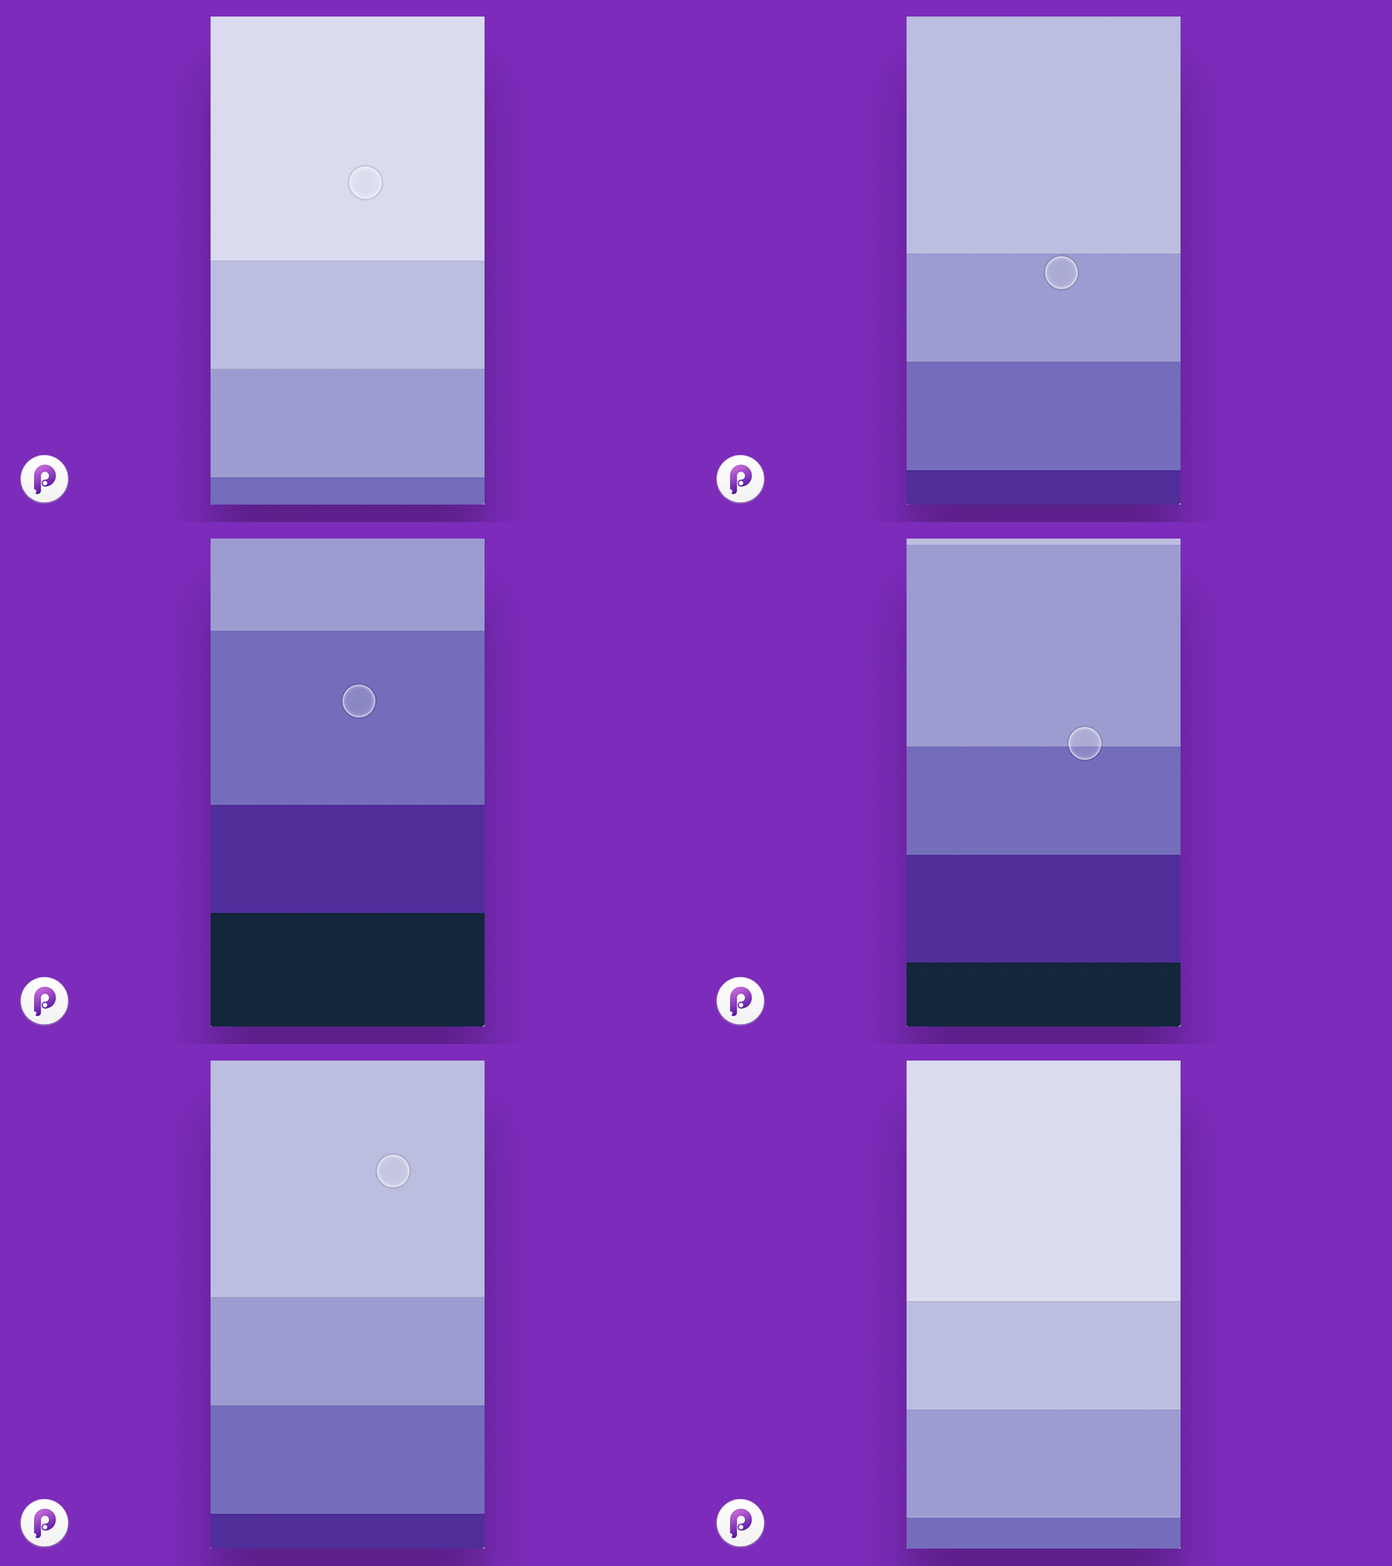
滾動頁面,觀察最頂端的條狀進度
```css
body {
? ? position: relative;
}
.indicator {
? ? position: absolute;
? ? top: 0; right: 0; left: 0; bottom: 0;
? ? background: linear-gradient(to right top, teal 50%, transparent 50%) no-repeat;
? ? background-size: 100% calc(100% - 100vh);
? ? z-index: 1;
? ? pointer-events: none;
? ? mix-blend-mode: darken;
}
.indicator::after {
? ? content: '';
? ? position: fixed;
? ? top: 5px; bottom: 0; right: 0; left: 0;
? ? background: #fff;
? ? z-index: 1;
}
```
CSS提供的一些新特性:`scroll-behavior`、`overscroll-behavior`、**CSS Scroll Snap Points**、`::-webkit-scrollbar`、`overflow-scrolling: touch`和`pointer-events:none`
## 五、css counters
https://www.w3cplus.com/css3/css-generated-content-counters.html
https://www.w3cplus.com/css3/css-counters.html
https://www.smashingmagazine.com/2013/04/css-generated-content-counters/
CSS Counters其實就是一計數器,早期在CSS中計數器僅存在于`ul`和`ol`元素。如果要使用在`div`這樣的元素上,只能通過`list-style-image`或者是元素的`backgroud-image`來實現。在[CSS2.1的規范](http://www.w3.org/TR/CSS2/)中介紹了一種新技術,允許開發人員使用偽類`:after`、`:before`或者偽元素`::after`、`::before`給任何元素創建自動遞增計數器——類似于列表中的項目符號(`list-style-type`)
優點:
相比傳統的`ol`,`ul`列表計數,CSS計數器的優勢就在于靈活與強大,不足就是IE6/IE7不支持。
普照規則第一條,普照源唯一。所以,我們可以在頭尾放兩個差距甚遠的列表,然后,這些列表自動顯示序號。而`ol/ul`只能寫死`start`實現,很不靈活,一旦列表有刪減,就嗝屁了。
由于計數器是偽元素控制顯示的。因此,我們幾乎可以應用各種CSS樣式,各種定位等。所以,基本上,只要有有序序號呈現的地方,就能使用CSS計數器。

講counter之前,先提一下content,content是簡單的通過css在dom樹上創建一個抽象的結構,content支持下面幾種類型
- none, normal:偽內容不生成;
- 'String':表示一個包含在引號中的文本字符串;
- url():這個方法可以讓我們插入一個外部資源(通常是一個圖片),也可以使用background-image
- counter()
- attr(attribute):這個方法讓我們可以插入給定元素的屬性值;
```css
a:before {
? content: "link";
}
```
```css
a:before {
? content: url(link.png);
}
```
```css
a[href]:after {
? content: "( " attr(href) " )";
}
```
```css
div:before {
? content: counter(term);
}
```
自動增長的數值是由css的兩個屬性控制的,他們是counter-reset 和counter-increment
```css
// 用于選擇器,主要用于標識該作用域,可以自定義
counter-reset:<identifier>
// 用來表示計數器與實際相關聯的范圍,第一個參數就是選擇器,第二個可選參數是增長的整數值
counter-increment:[ <identifier> <integer>? ]+ | none | inherit
```
例子:
```html
// html
? ? <h3>Introduction</h3>
? ? <h3>Body</h3>
? ? <h3>Conclusion</h3>
```
```css
? body {
? ? ? ? ? ? counter-reset: section;
? ? ? ? ? ? /* 重置計數器成0 */
? h3:before {
? ? ? ? ? ? counter-increment: section;
? ? ? ? ? ? /* 增加計數器值 */
? ? ? ? ? ? content: "Section "counter(section) ": ";
? ? ? ? ? ? /* 顯示計數器 */
? }
}
```
本文中所涉及到的內容,`content`屬性主要與`counter([<identifier>])`
```css
h2{ counter-increment: section;
? ? &:before{
? ? ? ? content:"Chapter" counter(Chapter) "." counter(section);
? ? }
}
```
```css
#demo8 ol { counter-reset: section 6; }
#demo8 ol li { counter-increment: section -1; }
#demo8 ol li:before { content: counter(section) ". "; }
```
counter 支持兩個參數,兩個參數之間用","隔開,第一個參數是counter-increment定義的屬性值indentifier,第二個參數是計數器的風格類似list-style-type,這個值于list-style-type一樣https://developer.mozilla.org/zh-CN/docs/Web/CSS/list-style-type>
- disc
- circle
- square
- decimal
- decimal-leading-zero
? ....
參考文檔:<https://www.w3cplus.com/css3/css-counters.html>
## 六、變量
https://developer.mozilla.org/zh-CN/docs/Web/CSS/Using_CSS_custom_properties
CSS 變量是由CSS作者定義的實體,其中包含要在整個文檔中重復使用的特定值。使用自定義屬性來設置變量名,并使用特定的 [var() ](https://developer.mozilla.org/zh-CN/docs/Web/CSS/var)來訪問。(比如? color: **var(--main-color)**; 注意css變量是區分大小寫的
```c s sc s
// 聲明一個局部的變量
.test {
? --main-color: red
}
.test {
? ? background-color: var(--main-color)
}
```
- css變量受層級的影響·
? ```css
? :root {
? ? ? --main-color: blue;
? }
? .alert {
? ? ? --main-color: red;
? }
? p {
? ? ? color: var(--main-color);
? }
? ```
? ```html
? <--! HTML -->
? <html>
? ? <head>
? ? ? <!-- head code here -->
? ? </head>
? ? <body>
? ? ? <div>
? ? ? ? <p>blue 的段落</p>
? ? ? ? <div class="alert">
? ? ? ? ? <p>red 的段落</p>
? ? ? ? </div>
? ? ? </div>
? ? </body>
? </html>
? ```
? 在div標簽中擁有 `.alert` 類的段落會是紅色,因為它的值繼承自局部作用域里的 `--main-color` ,這個變量的值是 *red* 。
- 內聯元素中css的變量
? ```html
? <div style="--size:200px;--color:#FFFFFF;">
? ? <p>Component Size from inline style</p>
? </div>
? ```
? ```css
? div{
? ? width: var(--size);
? ? height: var(--size);
? }
? div p{text-align: center; color:var(--color) }
? ```
- Var 函數
? ```css
? :root{
? ? --background: green;
? }
? .blocks{
? ? border: 4px solid black;
? ? background: red;
? }
? .blocks div{
? ? outline: 4px solid black;
? ? background: var(--background);
? }
? ```
? ```html
? <div class="blocks block-1">
? ? <div></div>
? </div>
? ```
? 有時可能會出現無法定義CSS變量的情況。在這種情況下,您可以將回退值設置為 `var()` 函數中的第二個參數
? ```css
? background: var(--background, green);
? ```
? 你也可以嵌套多個`var()` 函數 `background: var(--color1, var(--color2, var(--color3, #00BCD4)));`。
- 結合calc函數
? 
- 結合媒體查詢
? 您甚至可以在媒體查詢中重新設置變量值,并讓這些新值在任何地方使用它們級聯,特別要說明的是:這是預處理器變量無法實現的。
? 查看此示例,其中媒體查詢更改用于設置非常簡單網格的變量,打開 codepen,然后嘗試調整瀏覽器的大小,你可以看到媒體查詢中的 CSS 變量依然有效。
- ```css
? :root{
? ? --width: 25%;
? ? --content: 'This is desktop';
? }
? @media only screen and (max-width: 767px){
? ? :root{
? ? ? --width:50%;
? ? ? --content: 'This is mobile';
? ? }
? }
? @media only screen and (max-width: 480px){
? ? :root{
? ? ? --width:100%;
? ? }
? }
? div{
? ? width: calc(var(--width) - 20px);
? ? height: 100px;
? }
? div:before{
? ? content: var(--content);
? }
? ```
? 除此之外還可以應用到svg,一些動畫上面來通過變量來計算屬性值。
- 通過javascript來操作css變量
? 可以直接通過JavaScript代碼訪問CSS變量。通過 `getComputedStyle`,`setProperty`和 `getPropertyValue`從JavaScript訪問CSS變量非常簡單。 要獲取變量,請使用 `getPropertyValue()`。
? 假設在你的CSS文件中,有一個叫做 `--left-pos` 的變量,作用在 `.sidebar` 選擇器中,值為 `100px`
? ```
? .sidebar {
? ? ? --left-pos: 100px;
? }
? ```
? ```js
? // 緩存你即將操縱的元素
? const sidebarElement = document.querySelector('.sidebar');
? // 緩存sidebarElement的樣式于cssStyles中
? const cssStyles = getComputedStyle(sidebarElement);
? // 獲取 --left-pos CSS變量的值
? const cssVal = String(cssStyles.getPropertyValue('--left-pos')).trim();
? // 將CSS 變量的值打印到控制臺: 100px
? console.log(cssVal);
? ```
? ```js
? /* 從 :root 根元素獲取變量值 */
? document.documentElement.style.getPropertyValue('--background');
? /* 從 .block-3 元素獲取變量值 */
? document.querySelector('.block-3').style.getPropertyValue('--background');
? ```
- 瀏覽器對css變量的支持效果 <https://caniuse.com/#feat=css-variables>
? 
兼容性處理
```css
section {
? ? color: gray;
}
@supports(--css: variables) {
? ? section {
? ? ? ? --my-color: blue;
? ? ? ? color: var(--my-color, 'blue');
? ? }
}
```
因為IE/Edge支持 `@supports` ,所以上面的代碼會生效。如果在`var()`函數中添加一個后備值,你的代碼將會更加健壯,在支持的更加不好的瀏覽器中也能優雅降級。
## 七、混合模式和濾鏡
https://bennettfeely.com/image-effects
https://codepen.io/airen/full/bZJvaW>

- mix-blend-mode
- background-blend-mode
- isolation
- filter
## 八、css動畫