作者: weiyf
時間: 2016-10-31 14:31:09
原文鏈接:https://futurestud.io/tutorials/glide-listadapter-listview-gridview
在這個系列的前兩篇文章中展示了如何在ImageView去加載單個圖片。這篇博客將會演示每一個項只包含單個ImageView的ListView和GridView的適配器實現。這就像是很多相冊app那樣。
The first two posts in this series have shown how to load a single image into an ImageView. This post will demonstrate adapter implementations for ListView and GridView, where each cell contains a single ImageView. This is similar to many image gallery apps.
Glide系列提綱概況(Glide Series Overview):
- 【雙語】Glide — 入門(Glide — Getting Started)
- 【雙語】Glide — 高級加載(Glide — Advanced Loading)
- 【雙語】Glide — 列表適配器(ListView, GridView)(Glide — ListAdapter (ListView, GridView))
- Glide — Placeholders & Fade Animations
- Glide — Image Resizing & Scaling
- Glide — Displaying Gifs & Videos
- Glide — Caching Basics
- Glide — Request Priorities
- Glide — Thumbnails
- Glide — Callbacks: SimpleTarget and ViewTarget for Custom View Classes
- Glide — Loading Images into Notifications and AppWidgets
- Glide — Exceptions: Debugging and Error Handling
- Glide — Custom Transformations
- Glide — Custom Animations with animate()
- Glide — Integrating Networking Stacks
- Glide — Customize Glide with Modules
- Glide Module Example: Acctupepting Self-Signed HTTPS Certificates
- Glide Module Example: Customize Caching
- Glide Module Example: Optimizing By Loading Images In Custom Sizes
- Glide — Dynamically Use Model Loaders
- Glide — How to Rotate Images
- Glide — Series Roundup
相冊實現:ListView(Sample Gallery Implementation: ListView)
首先,我們需要準備一些測試圖片,我們上傳了從我們eatfoody.com項目精選的食譜圖片。
First, we'll need some test images. We uploaded a selection of the best recipe images from our eatfoody.com project to imgur:
public static String[] eatFoodyImages = {
        "http://i.imgur.com/rFLNqWI.jpg",
        "http://i.imgur.com/C9pBVt7.jpg",
        "http://i.imgur.com/rT5vXE1.jpg",
        "http://i.imgur.com/aIy5R2k.jpg",
        "http://i.imgur.com/MoJs9pT.jpg",
        "http://i.imgur.com/S963yEM.jpg",
        "http://i.imgur.com/rLR2cyc.jpg",
        "http://i.imgur.com/SEPdUIx.jpg",
        "http://i.imgur.com/aC9OjaM.jpg",
        "http://i.imgur.com/76Jfv9b.jpg",
        "http://i.imgur.com/fUX7EIB.jpg",
        "http://i.imgur.com/syELajx.jpg",
        "http://i.imgur.com/COzBnru.jpg",
        "http://i.imgur.com/Z3QjilA.jpg",
};
第二,我們需要一個創建一個adapter并將它設置給ListView的activity:
Second, we'll require an activity, which creates an adapter and sets it for a ListView:
public class UsageExampleAdapter extends AppCompatActivity {

    @Override
    protected void onCreate(Bundle savedInstanceState) {
        super.onCreate(savedInstanceState);

        setContentView(R.layout.activity_usage_example_adapter);

        listView.setAdapter(new ImageListAdapter(UsageExampleAdapter.this, eatFoodyImages));
    }
}
第三,讓我們看一下adapter的布局文件。這個ListView的布局文件非常簡單:
Third, let's look at the layout files for the adapter. The layout file for a ListView item is very simple:
<?xml version="1.0" encoding="utf-8"?>
<ImageView xmlns:android="http://schemas.android.com/apk/res/android"
       android:layout_width="match_parent"
       android:layout_height="200dp"/>
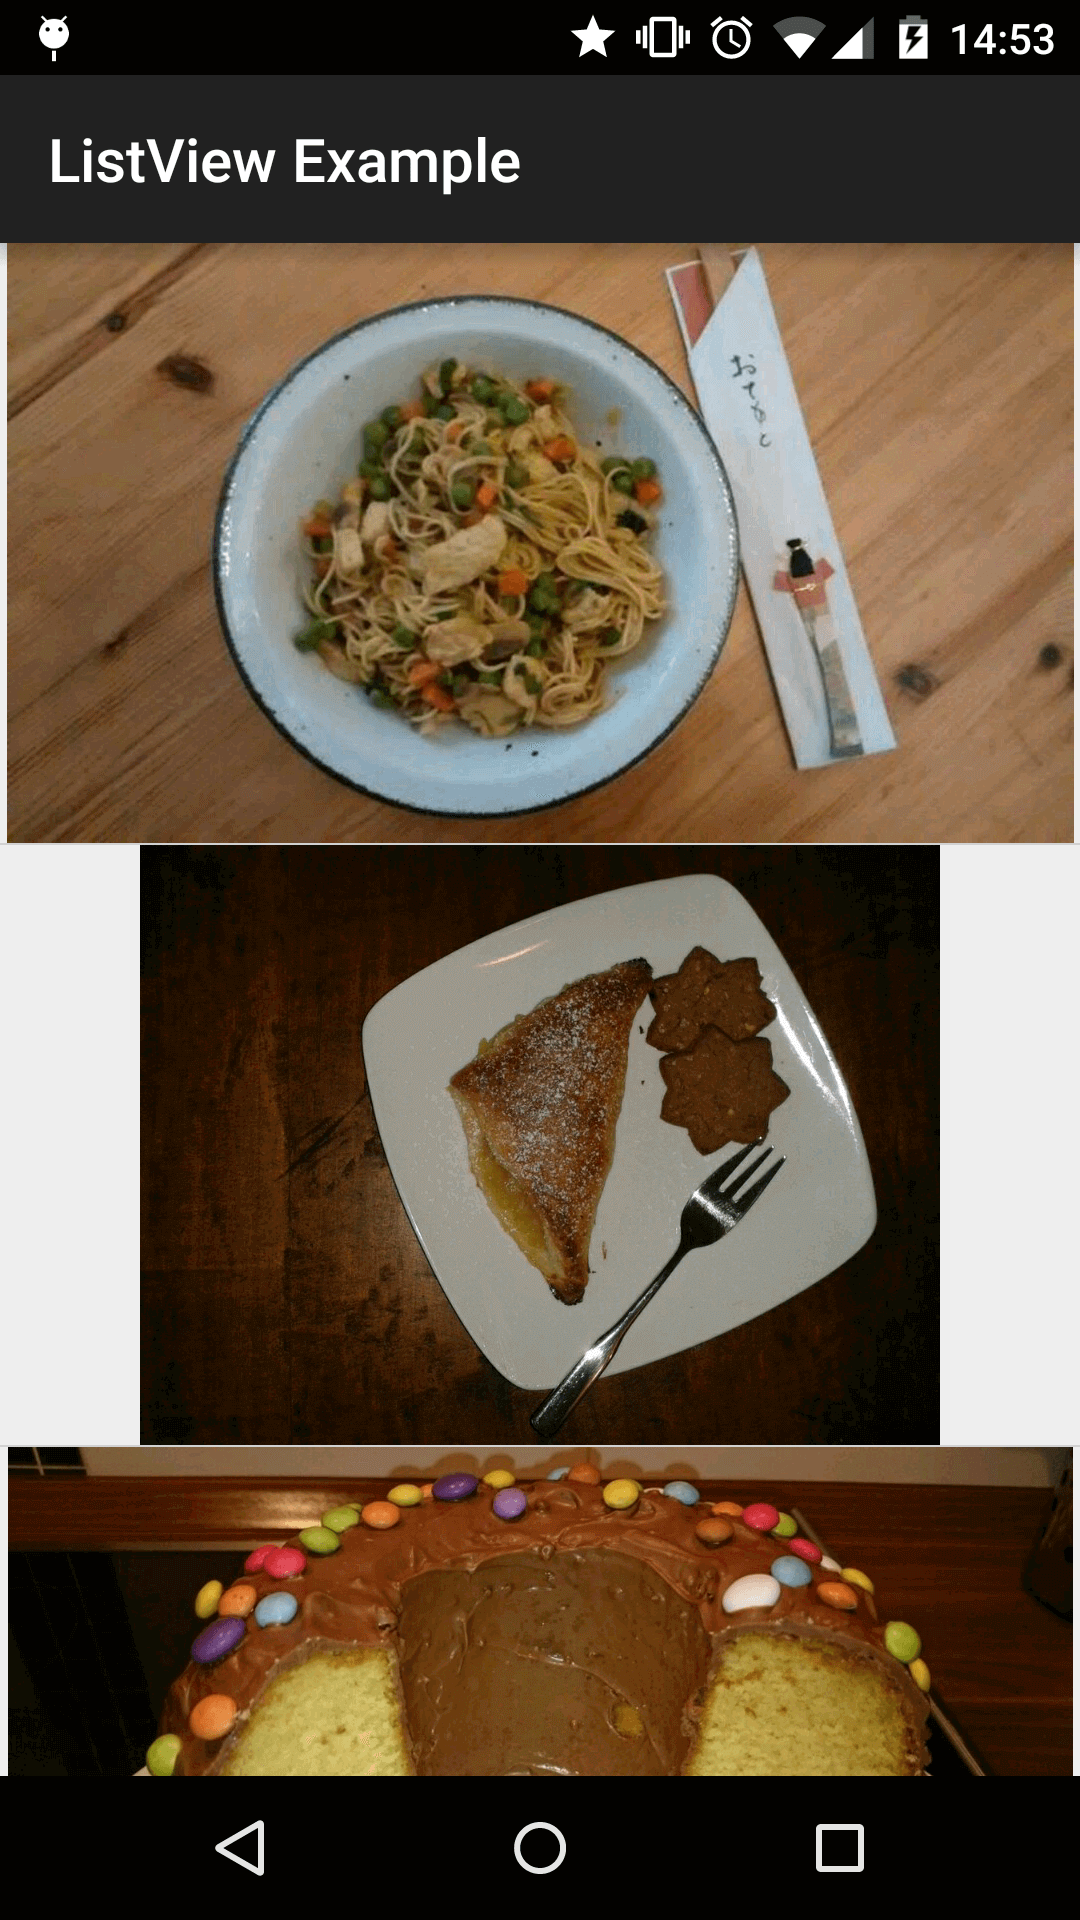
這將會顯示一個每一項含有一個高度為200dp和填充設備寬度的圖片的圖片列表。明顯這不是一個最漂亮的相冊,但是這并不是這篇博客的重點。
This will result in a list of images, which each will have a height of 200dp and match the device's width. Obviously, this will not result in the prettiest image gallery, but that's not the focus of this post.
在此之前,我們需要為ListView的實現一個adapter。我們會讓它看起來簡單和丙丁我們的eatfoody樣本圖片到adapter。每一個item會顯示一個圖片。
Before we can jump to the result, we'll need to implement an adapter for the ListView. We'll keep it simple and bind our eatfoody example images to the adapter. Each item will display one image.
public class ImageListAdapter extends ArrayAdapter {
    private Context context;
    private LayoutInflater inflater;

    private String[] imageUrls;

    public ImageListAdapter(Context context, String[] imageUrls) {
        super(context, R.layout.listview_item_image, imageUrls);

        this.context = context;
        this.imageUrls = imageUrls;

        inflater = LayoutInflater.from(context);
    }

    @Override
    public View getView(int position, View convertView, ViewGroup parent) {
        if (null == convertView) {
            convertView = inflater.inflate(R.layout.listview_item_image, parent, false);
        }

        Glide
            .with(context)
            .load(imageUrls[position])
            .into((ImageView) convertView);

        return convertView;
    }
}
有趣的事情將會發生在ImageListAdapter的getView()方法。你將會看到Glide調用的方法是和之前常規加載圖片的方法完全一樣。無論你在應用嘗試加載什么,Glide調用的方法還是保持不變。
The interesting stuff happens in the getView() method of the ImageListAdapter. You'll see that the Glide call is exactly the same as in the previously used 'regular' loading of images. The way to utilize Glide stays the same, no matter what application you're trying to cover.
作為一個進階的Android開發者,你需要知道我們需要重用ListView的布局,來創造一個快速且順滑滾動的體驗。Glide的魅力是它會自動的處理請求的取消,清空ImageView和加載正確的圖片到對應的ImageView。
As an advanced Android developer you will know that we need to re-use layouts in ListViews to create a fast & smooth scrolling experience. One awesomeness of Glide is that it automatically takes care of the request canceling, clearing of the ImageViews, and loading the correct image into the appropriate ImageView.
Glide的一個優勢:緩存(A Strength of Glide: Caching)
當你多次上下滾動,你將會看到圖片會比之前顯示的更快。在新的設備中,有可能甚至會沒有等待時間。就像你猜的那樣,這些圖片都是從緩存中來的,并不是從網絡加載的。Glide的緩存是基于Picasso實現的,所以這對你來說會更加的全面和做這些事情更加輕松。所實現的緩存大小取決于你的磁盤大小。
When you scroll up and down a lot, you'll see that the images are displayed much faster than previously. On newer phones, there might be no wait times at all. As you can guess, these images come from cache and are not loaded from the network anymore. Glide's cache implementation is based on the one from Picasso and thus well rounded and will make things a lot easier for you. The size of the implemented cache depends on the device's disk size.
當你在加載圖片的時候,Glide會使用三種來源:內存,磁盤和網絡(從最快到最慢)。再次說明,這里并沒有什么你必須去完成的。Glide會為你隱藏所有復雜情況的實現,同時為你創建了只能的緩存大小。我們仔細的在以后的博客中看看這緩存的實現。
When loading an image, Glide uses three sources: memory, disk and network (ordered from fastest to slowest). Once again, there is nothing you'll have to do. Glide hides all that complexity from you, while creating intelligently sized caches for you. We'll take a closer look at the caching in a later blog post.
相冊實現:GridView(Sample Gallery Implementation: GridView)
對于帶圖片的GridView的實現和ListView的實現并沒有什么不同。你其實可以使用相同的adapter。只需要在activity中將布局文件改成GridView的:
The implementation for a GridView with image elements is not any different from a ListView implementation. You actually can use the same adapter. Just switch out the activity layout to a GridView:
<?xml version="1.0" encoding="utf-8"?>
<GridView
    android:id="@+id/usage_example_gridview"
    xmlns:android="http://schemas.android.com/apk/res/android"
    android:layout_width="match_parent"
    android:layout_height="wrap_content"
    android:numColumns="2"/>
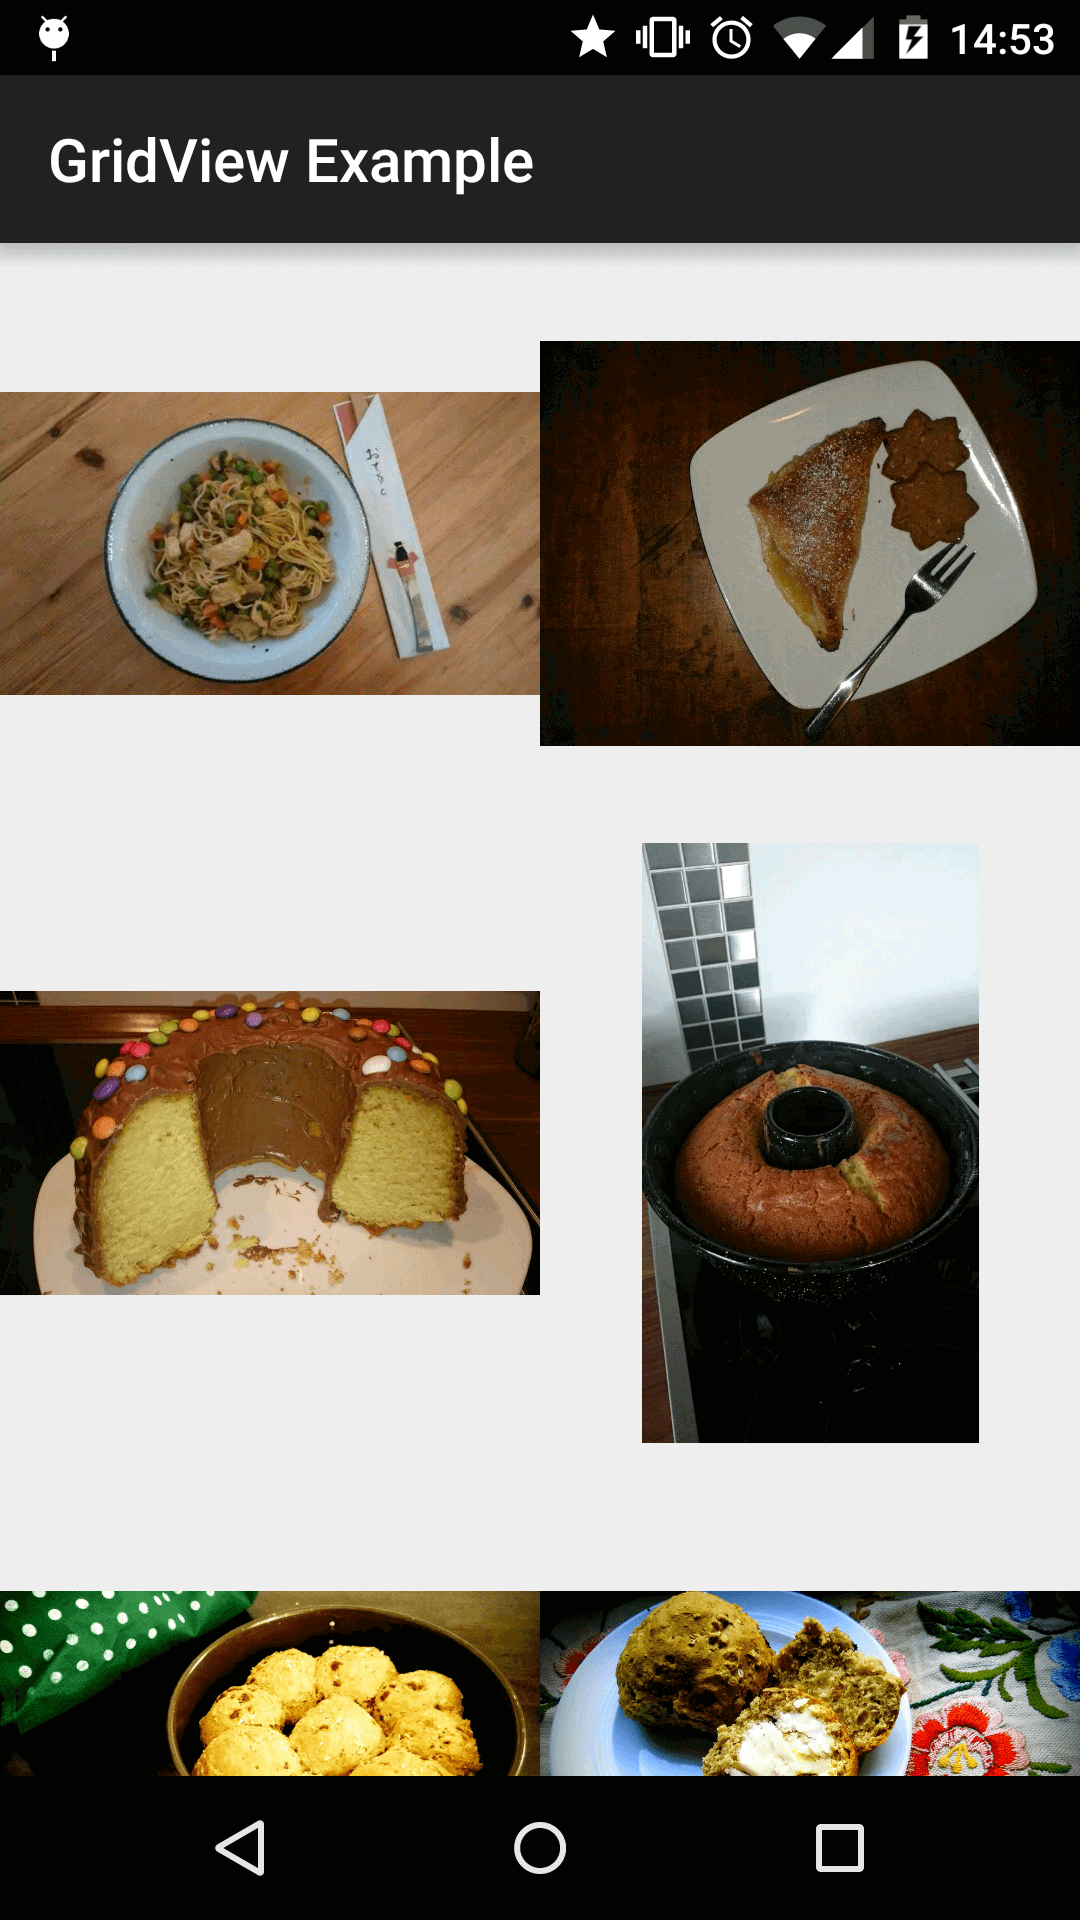
這就是上面設計的效果圖:
This will result in the following design:
其他應用:ImageViews作為元素(Other Applications: ImageViews as Elements)
到目前為止,我們只是看到了整個adapter的item是一個ImageView的例子。如果一個或多個ImageView只是adapter item的一個小部分,Glide的加載方式仍然適用。只是你的getView()方法代碼看起來會有一點點不同,但是Glide加載item的方式還是相同的。
So far, we've only looked at examples where the entire adapter item is an ImageView. The approach still applies if one or more ImageViews are only a (small) part of the adapter item. Your getView() code will look a little different, but the loading of the Glide item would be identical.
展望(Outlook)
在此刻,你已經學習了如何去用Glide加載的90%的Android應用場景。在我們涵蓋剩余的案例之前,我們將講解Glide額外的功能(除了圖片加載和緩存)。換句話說,下周我們將會去了解展位圖和動畫。
At this point, you've learned how to load images with Glide in 90% of the Android use cases. Before we cover the edge cases, we'll explain additional capabilities of Glide (besides image loading and caching). Namely, next week will be all about placeholders and animations.
轉載請注明出處:http://weiyf.cn/2016/10/31/Glide-—-ListAdapter-ListView-GridView/
